This post contains affiliate links.
Throughout my years of baking, I’ve come to know many methods for baking. I like to use a variety of baking methods when it comes to my kitchen. While some recipes may specifically call for a particular method to be utilized, there are other times when you may prefer one over the other.
What is a Baking Method?
A baking method is a way in which ingredients are to be mixed together and heated in order to create a variety of baked goods. Whether or not the item bakes successfully is often dependent upon the proper baking methods being used throughout the baking process.
Any recipe comes with its own set of steps that should be followed in order to have a successful outcome. Most recipes will have at least one or two methods you’ll need to use, while some recipes don’t call for any in particular.
Through my own personal experience, I’ve found that most recipes will have you use one of 5 common baking methods.
These methods are the all-in-one method, the rubbing method, the creaming method, the whisking method, and the beating method.
*By the way, you might also want to know How To Mix Batter Without a Mixer. I recently wrote an article talking about The Right Ways of Mixing Batter By Hand, which you can check out here!
Here’s a breakdown of the five most common baking methods used in the kitchen, as well as when it’s appropriate to choose one over the other. Let’s go ahead and get started!
The 5 Main Methods of Baking:
- The All-in-One Method
- The Rubbing Method
- The Creaming Method
- The Whisking Method
- The Beating Method
Although some baking methods may be slightly easier to use than others, they’re all simple to master and can be perfected by any home chef. Creating a new recipe in the kitchen is always a learning experience and may take some time (and a few mistakes) to get it right.
While I like to do my mixing by hand, I much rather prefer using a Stand Mixer instead. I recently wrote an article that talks about the 3 Best Stand Mixers that bakers can buy in each stage of their baking journey. After reviewing a few stand mixers, the Best Overall Mixer was the KitchenAid Artisan Tilt-Head Stand Mixer. You can check out this stand mixer on Amazon!
1. The All-in-One Method
The all-in-one method of baking consists of combining all ingredients together prior to heating them. There is no required sequencing of ingredients to follow, nor are there specific steps to take or motions to use when combining them.
The all-in-one baking method is probably the simplest method used by home chefs everywhere. Some recipes call for ingredients to be mixed in a certain order. In such cases, this is necessary in order to yield good results.
What I love about the all-in-one method is that it is a much quicker approach to baking.
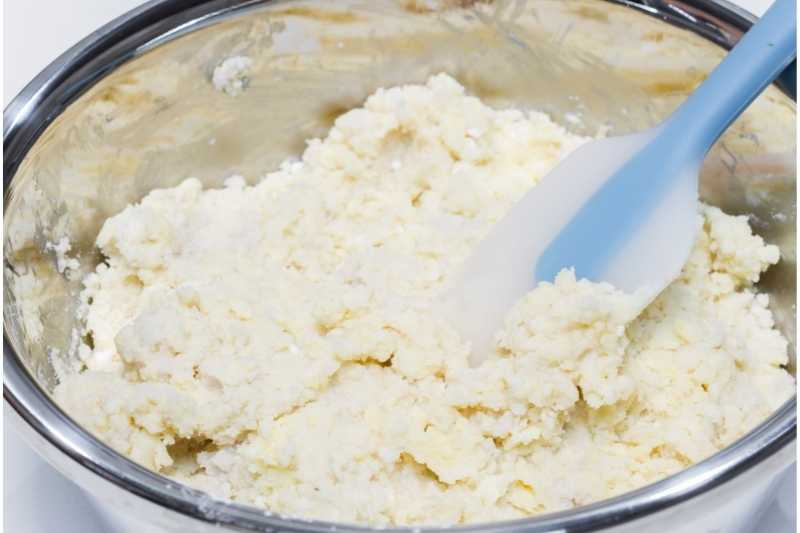
When recipes call for a particularly fussy method to combine ingredients it tends to tack on more time to the overall process, which isn’t helpful when you’re on a tight schedule.
For example, you can use a variety of methods in order to mix up your ingredients to create cupcakes. I’ve noticed that whenever I use the all-in-one method my cupcakes are pretty light and airy when compared to other cupcakes which were created with the creaming method.
While some might assume you’d have more doming issues with the all-in-one method, I found very few problems with mine.
Overall, the all-in-one method is very simple to use, saves quite a bit of time, and is pretty versatile. You should always double-check your recipe ahead of time though in order to make sure you can use this method! I advise you to always stick with whatever baking method your recipe calls for when possible.
*By the way, I recently wrote an article about All The Different Mixing Methods in Baking. This article talks about the 10 different mixing ways you can use when making your baked goods. You can check out this article here!
2. The Rubbing Method
The rubbing method is performed by combining flour and margarine or butter together in order to distribute the fat. This is achieved by dividing the butter or margarine into smaller pieces and placing them throughout the flour. The ingredients are then rubbed together to make a doughy mixture.
If you enjoy baking bread, pastries, and pies, you are likely familiar with this simple, yet effective, method. The rubbing method basically involves combining margarine or butter with your flour and creating dough from the ingredients.
The rubbing method is used to create all sorts of goodies like cookies, scones, cakes, and loaves of bread. It’s also great to use when creating crumbles for the tops of your pastries.
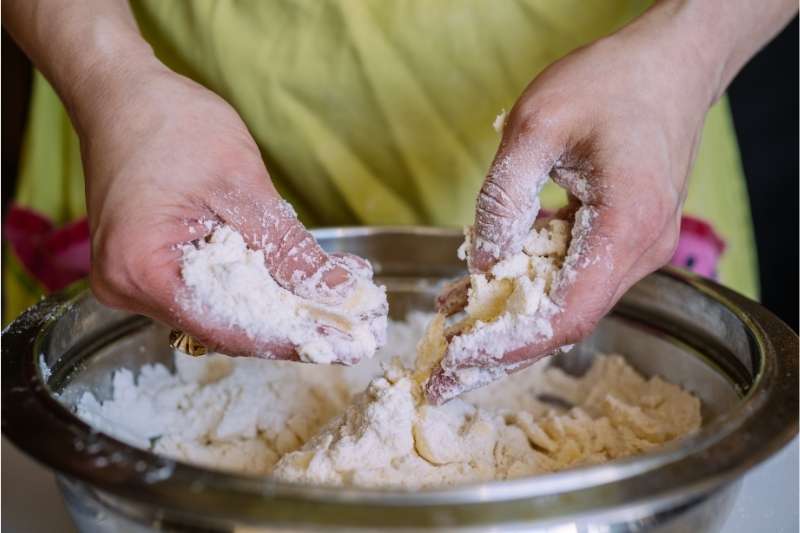
To make this process go even smoother, I like to cut my butter up into small even squares and place them throughout my flour for a more even mixing process.
If you work your mixture evenly enough, you’ll be able to avoid lumps as well.
Another tip to remember in regards to using the rubbing method and adding butter is that the size of your butter pieces will have an impact on the flakiness of your dough. If your recipe requires flakiness, cut your bits of butter smaller than you usually would. Larger pieces will yield a less flaky batter.
3. The Creaming Method
The creaming method is used for recipes that call for an exact sequencing of steps. Wet ingredients such as butter and dry ingredients such as sugar are mixed together separately in order to yield desired baking results.
You may have also heard of the creaming method being referred to as the whipping method as well.
Whatever you prefer to call it, the creaming method is often used in order to incorporate air into the mixture so that it rises during the baking process.
This trapped air will expand when heated in the oven, giving your baked good that soft mouthfeel. You’ll see this method used in a lot of cheesecake recipes, pie fillings, and brownie recipes.
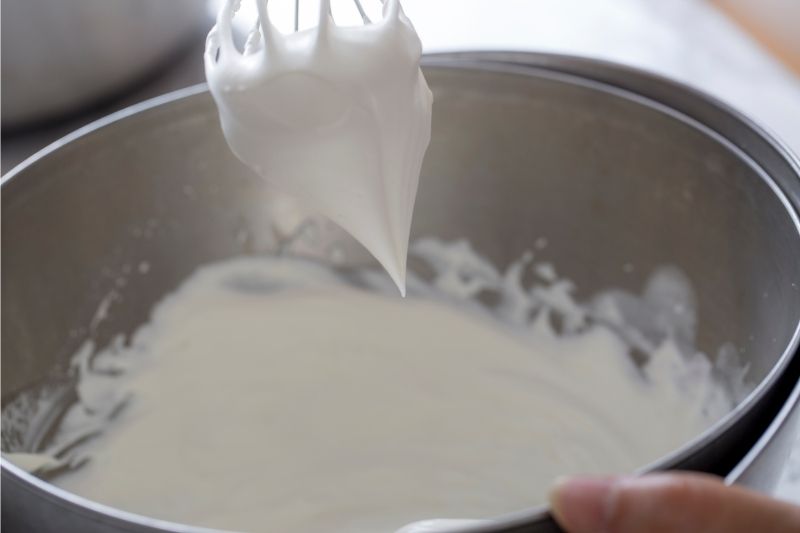
When using this method, be sure that your butter has warmed up to room temperature. This will make it much easier to work with and allow the sugar to disperse throughout your mixture more efficiently.
While you can do this method by hand with a wooden spoon, it can get tiring pretty quickly. If you’re running short on time or strength, switch to a kitchen mixer in order to get the job done.
*By the way, I recently wrote an in-depth article about The Differences Between Whisking and Whipping. This article talks about how and when to use the whisking and whipping methods. You can check out this article here!
4. The Whisking Method
The whisking method is performed in order to mix ingredients with air to create a light, fluffy texture. Whisking is performed through a quick series of movements to combine ingredients and achieve proper aeration. A wire whisk is often used for the whisking method.
Some people tend to get the whisking method and the creaming method confused. While the creaming method is used in order to incorporate air into sugar and butter to make it light and fluffy, the whisking method is used to combine air into a wet mixture that usually includes eggs.
Whisking is often used to create decorative frosting and mousse to use in cakes and other pastries. The best way to whisk is to first break up your egg yolks by using a vigorous circular motion.
After that’s complete, use a side-to-side motion with your handheld whisker in order to smoothly combine your mixture.
You can do this by either using an OXO Good Grips 11-Inch Balloon Whisk or by using a KitchenAid K45WW Wire Whisk Attachment for Tilt-Head Stand Mixer depending on whether you have a KitchenAid mixer or not. Either way you choose to whisk, you can check out both of these tools on Amazon!
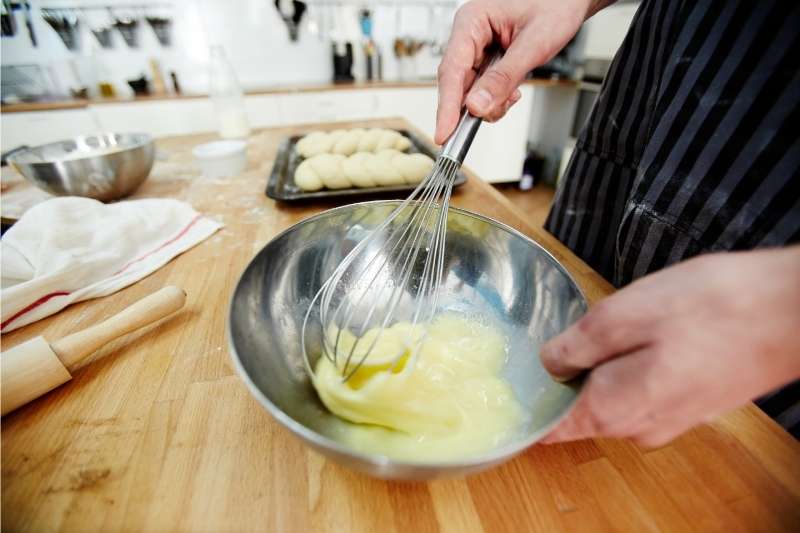
Once your mixture is fully combined, stop whisking! Overmixing can have a negative effect on your cake or pastry’s ability to rise while baking.
If your recipe calls for whisking but you don’t have a balloon whisk handy, a simple metal fork can work in a pinch! Simply use the same motions that you would while using a regular whisk and you’ll be on your way to delicious baked goods in no time!
*Side Note: I recently wrote an article about The Differences Between Whisking and Beating. This article talks about when you are supposed to use each of these mixing methods. You can check out this article here!
5. The Beating Method
The beating method involves using a wooden spoon or spatula to firmly combine ingredients. It is a more forceful method that is performed in circular, controlled motions by scraping the bottom of the mixing bowl and turning the batter on itself multiple times.
Beating takes a little more effort to get the job done right, but once you’ve perfected your technique you’ll be ready to whip up all sorts of delicious goodies. The beating method is used in order to smooth out your baking mixture while also adding a bit of air as well.
Beating is done firmly, usually with the bowl tucked under one arm and resting on your hip. You should then take a wooden spoon and make quick circles in your batter, taking care to fully combine the entire batch.
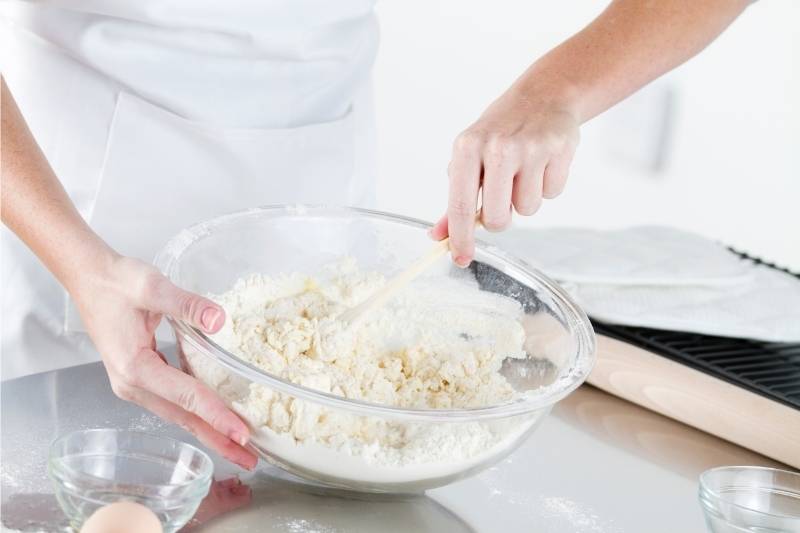
The best way to successfully use the beating method is to use a large bowl that is quite deep.
When you’re beating your mixture, there’s a higher chance for it to spill out, which could leave you with a mess all over your floor and no batter to work with.
*By the way, I recently wrote an article about The Differences Between Whipping and Beating. This article talks about how and when to use the whipping and beating mixing methods. You can check out this article here!
Final Thoughts
These five main methods of baking are used in nearly all recipes in one form or another. Whether you’re just getting started on your baking journey or you’re looking for ways to improve your baking experience, you should try to work on using these methods as often as you can.
Before getting started on your next baking project, you’ll always want to check ahead of time to see if there are any methods in particular that you should be using for your recipe.
Some recipes are destined to fail if you use the wrong method during preparation!
For example, in order for meringues to achieve that light, fluffy texture we all know and love, you have to use the beating method correctly. The whipping method is excellent for making frosting, especially buttermilk frostings.
Once you’ve got them down you’ll be whipping up all sorts of delicious baked goods for all your family and friends!
