
This post contains affiliate links.
Throughout my years of baking, I’ve realized that learning how to properly mix cake batter is one of the first skills that a baker has to master. In recent years, new technologies such as stand mixers have been created to simplify these repetitive tasks. However, going old school and mixing cake batter by hand has still proven useful when applied correctly.
As a general rule, use the beating method, the whisking method, or the whipping method to mix cake batter without a mixer. Mixing cake batter by hand using these methods will achieve the same consistency of mixed cake batter as a mixer would.
Learning how to successfully mix cake batter without a mixer will allow you to be able to successfully bake your favorite dessert in any type of circumstances. Knowing when to use which mixing method and which tool is key to a successful batter, which is why I’ll go into specific details about each type of mixing method and talk about the real differences between them.
3 Methods For Mixing Cake Batter Without A Mixer
After speaking about these methods, I will break down their differences towards the bottom of the article!
List of Tools For Mixing Batter Without A Mixer:
- Rubber Spatula
- Wooden Spoon
- Whisk or Fork
- Immersion Blender
- Manual Hand Mixer
- Battery Powered Hand Mixer
Make sure to use the right tool for the right mixing method!
*By the way, I recently wrote an article about All The Different Mixing Methods in Baking. This article talks about the 10 different mixing ways you can use when making your baked goods. You can check out this article here!
Use The Beating and Creaming Method
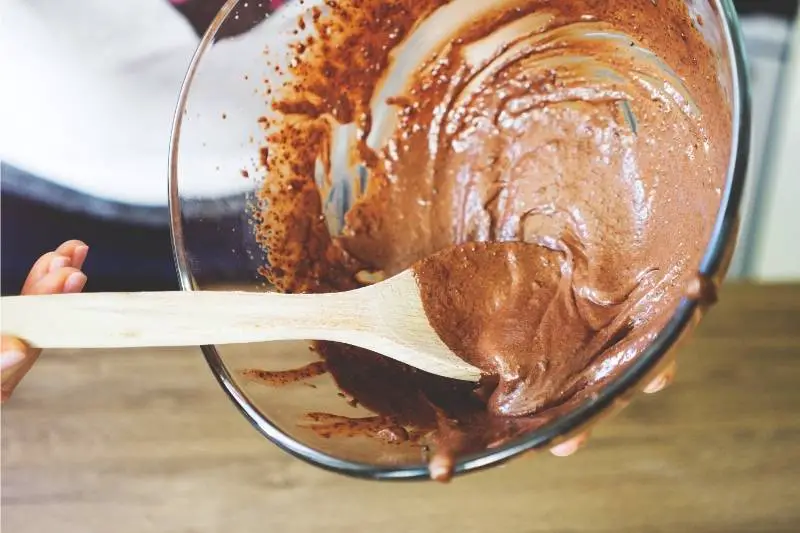
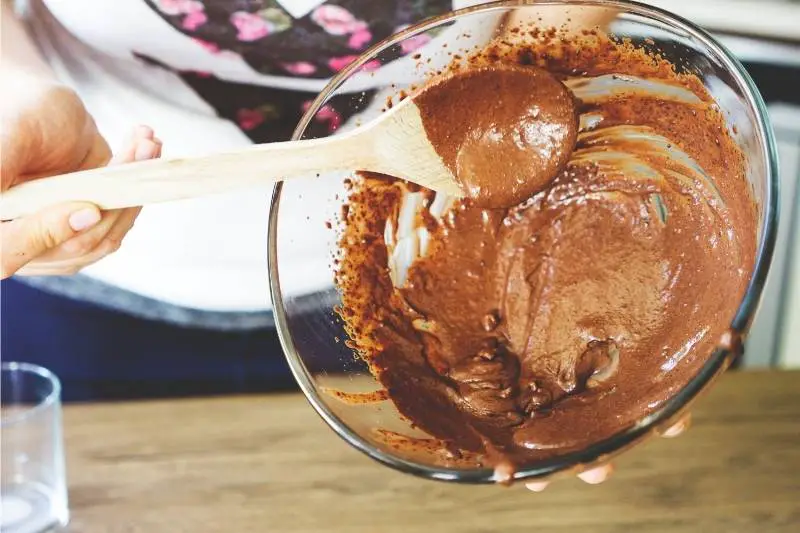
The beating method is to thoroughly mix dry ingredients into the wet ingredients by hand using tools such as a wooden spoon or a rubber spatula. Beating the ingredients together requires making quick circles in the batter by scraping the bottom of the mixing bowl and turning the batter on itself multiple times.
The beating and creaming methods usually mean the same thing and the names are used interchangeably. They both serve an identical purpose and intend for you to turn the batter on itself with a hard tool to fuse multiple ingredients together.
The beating/creaming method is best used for mixing dry ingredients into wet ingredients!
Using A Rubber Spatula:
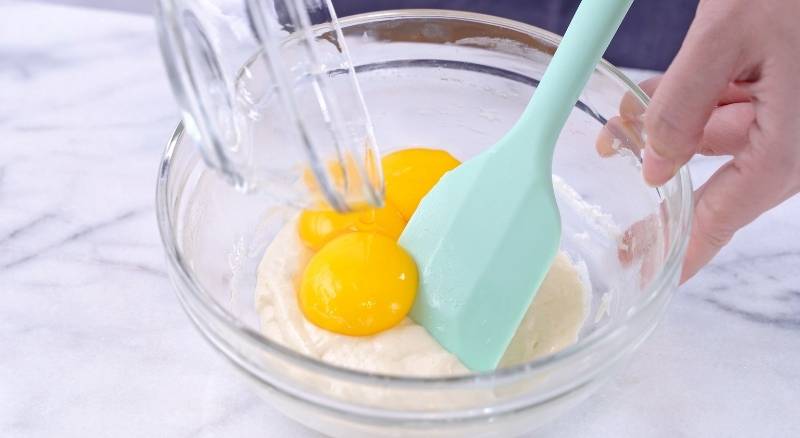
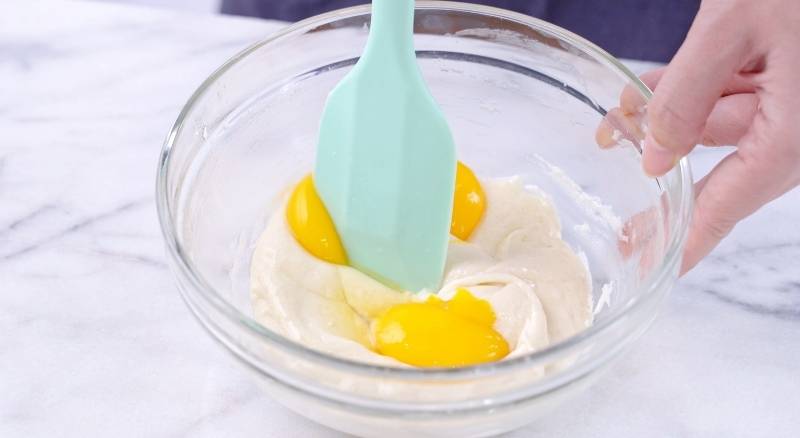
Perfect for scraping the edge of the bowl while mixing, a rubber spatula is a great tool for beating and creaming your batter. The rubber spatula is especially good for mixing egg yolks into your cake batter.
The rubber spatula prevents the egg yolks from forming clumps inside the batter by giving it a gentle break while starting to mix. The rubber of the spatula will curve with every movement which will allow all wet ingredients to mix thoroughly.
Mix your dry ingredients first and then separately mix your wet ingredients. Then slowly combine dry and wet ingredients until they form a mixture.
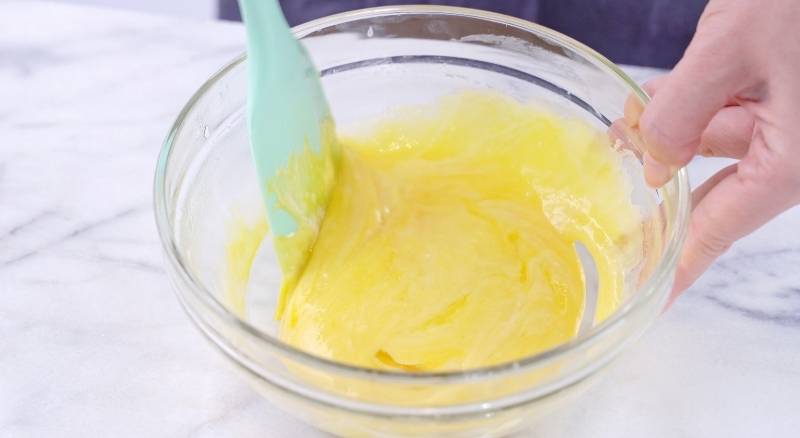
Gently fold your batter mixture using the momentum of the spatula until it’s well incorporated and continue adding your dry ingredients and incorporate gently until you have your fully mixed, smooth cake batter.
Using the curvy end of the spatula, clean the bowl with every fold while mixing. Make sure to go slow and gentle because if you go fast it leaves clumps of flour on the sides of the bowl which will end up in the batter.
Don’t allow for the clumps of flour to form in the first place by thoroughly cleaning the sides of the bowl with every stroke.
After pouring the batter into the pan you can level the surface of the cake batter by using the thin and flexible properties of the rubber spatula to your advantage by flattening the surface of the batter. This will smooth and evenly distribute the batter in the pan.
When your cake is fully baked, use the thin end of your spatula to separate the sides of the cake from the pan. This allows your cake to slide off of the pan quicker and without breaking.
Using A Wooden Spoon:
It’s no wonder that my grandma always used a wooden spoon for everything. It’s usually a secret ingredient for their meals but they also make it known that it’s also their secret weapon.
The wooden spoon is best used for creaming (or beating) butter and sugar together. Creaming butter and sugar is no simple task. It requires a lot of strength and perseverance to get the sugar crumbs to dissolve into the butter making the perfect cake batter!
There are 5 simple steps to creaming butter and sugar:
- Hold the bowl under your non-dominant arm
- Lean the bowl against your waist at a 20-degree angle
- Use your wooden spoon to make quick circles in the batter
- Use the spoon to compress the sugar against the side of the bowl
- *Make sure the sugar fully dissolves into the butter
Don’t put your spoon away just yet! Once you are finished creaming your butter and sugar together, continue following the recipe of your delicious cake or cookies. With every additional ingredient you add, mix it well with your wooden spoon using the same sequence mentioned above.
The key behind any light-textured baked treat is properly dispersing the sugar within your batter. A wooden spoon is one of the best ways to incorporate sugar into a butter base. This technique is known as creaming your butter.
To start off with any basic cake, you need to mix your dry ingredients separately from your wet ingredients. I like to first add all my dry ingredients into a large bowl and mix it with my clean wooden spoon. Then, combine all your wet ingredients in a smaller bowl and mix well with the wooden spoon.
You always add your dry ingredients into your wet ingredients gradually to help combine everything more thoroughly. Once you’ve done that, make sure to use your spoon to mix well until there aren’t any giant chunks remaining in the batter.
But remember: Do not overwork your batter! The gluten in your batter will cause the cake to become super dense.
*Side Note: I recently wrote an article about The 5 Main Methods of Baking. This article talks about how and when to use each baking method when making your baked goods. You can check out this article here!
Use The Whisking Method
The whisking method is meant to thoroughly incorporate air into the mixture by hand using tools such as a whisk or a fork. Whisking the air into the mixture requires making quick circles with your tool by rapidly rotating your wrist clockwise or counterclockwise.
The whisking method should mostly be used for wet ingredients!
Using A Whisk Or A Fork:
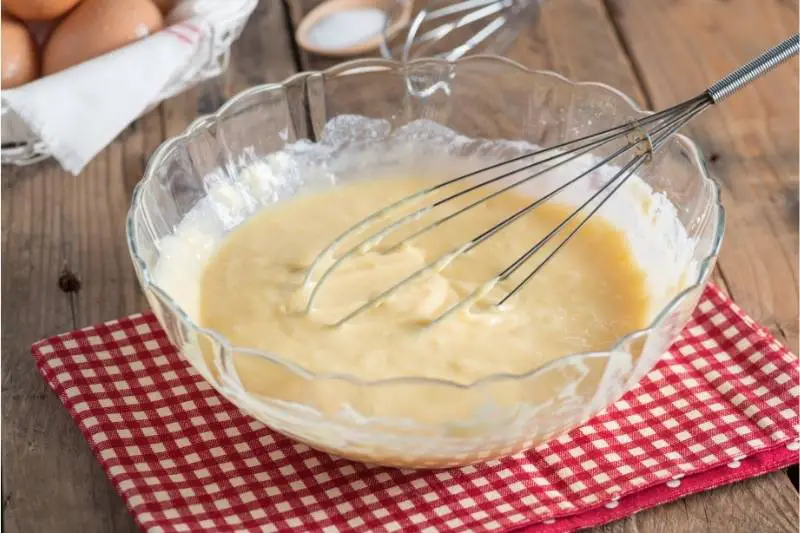
The whisk is a special tool that should be present in every baker’s kitchen! A whisk is made out of a unique thin metal material that allows air to pass through it while mixing wet ingredients.
Whisking air into your mixtures requires you to be more vigorous with the mixing. Using the whisk requires a bit of effort and speed to successfully aerate the batter.
Instead of using a whisk, you can also use a fork. Just like the whisk, the fork has holes in it which creates more space for air to pass through while mixing. However, keep in mind that the fork is harder to use.
I personally whisk by tilting my bowl at a 30-degree angle. Grasping the bowl tightly so that it doesn’t fall and making rapid circular motions with my wrist.
Don’t spill your wet ingredients when tilting your bowl!
This introduces a lot of air to the wet ingredients to create a fluffy cake once ready. It also helps to match the shape and the angle of the fork to be able to quickly flick your wrist. The goal is to create a steady rhythm in order to not spill the mixed ingredients.
Using An Immersion Blender:
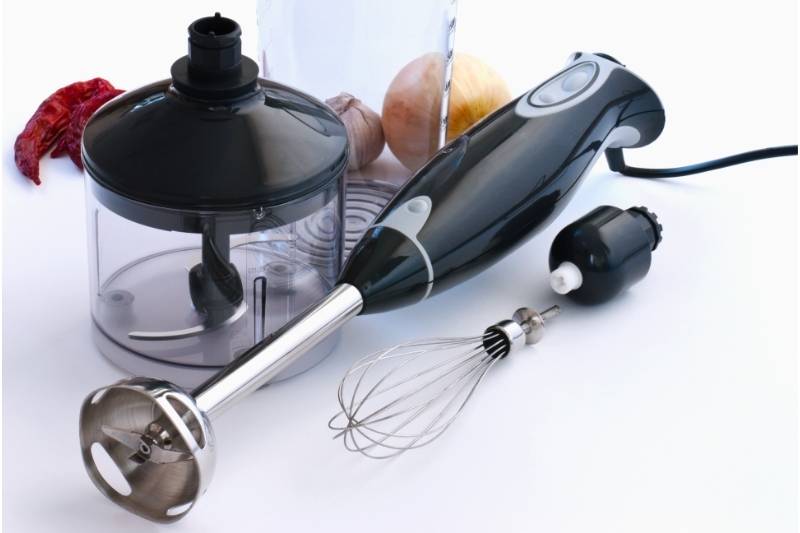
You can also use an immersion blender instead of a mixer. An immersion blender is a small thin powered tool that can get your whisking job done once used properly. It has a whisk attachment that could be used to shorten the whisking process.
So much faster than a handheld whisk!
Since this blender has multiple attachments, it could be used for both dry and wet ingredients. Besides using it as an egg mixer, you can use it to mix your cake batter as well.
After looking around for a good Immersion Blender, I found one that has Titanium Steel blades with 800 Watts of energy. You can find this Immersion Blender on Amazon!
Using A Manual Hand Mixer:

A manual hand mixer is the most unique hand mixer that I have ever come across. It is not an electric mixer and therefore needs to be cranked by hand using its handle.
This tool is a great example of great innovation without the use of electricity. While this tool is unique and interesting, I will not recommend using it over an immersion blender or even a whisk.
This tool requires the use of both hands!
I feel that a regular whisk could do a much better job at aerating wet ingredients since it could be handled with one hand only.
If you’re looking to get yourself a Manual Hand Mixer like this, I recently came across a Classic Hand Crank Style 12 Inches Stainless Steel Mixer. This is a great-looking Manual Hand Mixer that you can find on Amazon!
*By the way, if you are interested in knowing how to get Stuck Parchment Off of Your Cake and how to Prevent It, I recently wrote an article about Removing Stuck Parchment Paper, which you can find here!
Use The Whipping Method
The whipping method is often compared to the whisking method. However, these two methods are not as similar as people think. Whipping usually means that you are putting a lot of strength into mixing something.
Whipping is the process of vigorously mixing an ingredient to make it frothy. For example, egg whites are whipped until peaks form, or heavy cream is whipped until it is transformed into whipped cream!
Since the whipping method is similar to the other two methods, you can use the same tools such as a wooden spoon or a whisk to whip an ingredient.
The whipping method should mostly be used for wet ingredients!
Using A Battery Powered Hand Mixer:
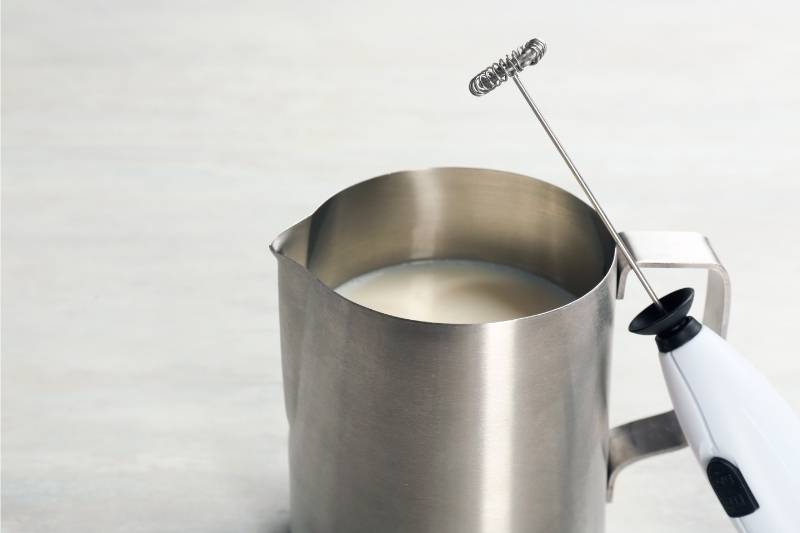
A milk frother is considered to be a battery-powered hand mixer that can be used for whipping.
Since the whipping method requires vigorous mixing in order to froth something, a steam-free milk frother is a perfect tool for frothing an ingredient.
For example, a steam-free frother can whip milk for it to become frothy!
This method is not used as often as the other two methods, however, it is important to know it to be able to mix without a mixer!
If you’re looking to get yourself A Battery-Powered Hand Mixer like a Milk Fother, I found a great one that I use daily for my coffee in the morning. You can check it out on Amazon!
After my grandma taught me these three methods to mixer cake batter without a mixer, I never forgot them! These methods have gotten me out of a pinch many times which is what makes them so reliable!
*Side Note: You might also want to know How To Bake A Cake In A Water Bath. I recently wrote an article about The Do’s and Dont’s of Baking A Cake In A Water Bath. You can find this article here!
What’s the difference between whisking and beating?
Whisking vs Beating
Whisking is intended to incorporate air into wet ingredients while mixing, and beating is intended to thoroughly break down dry ingredients while mixing. Whisking requires a thin wire whisk or whisk attachment while beating requires a wooden spoon or a paddle attachment.
*Side Note: I recently wrote an article about The Differences Between Whisking and Beating. This article talks about when you are supposed to use each of these mixing methods. You can check out this article here!
What’s the difference between whisking and whipping?
Whisking vs Whipping
Whisking is intended to incorporate air into wet ingredients while mixing, and whipping is intended to vigorously mix wet ingredients to make them frothy. Both whisking and whipping require a thin wire whisk or whisk attachment while whipping can use a wooden spoon or paddle attachment as well.
*By the way, I recently wrote an in-depth article about The Differences Between Whisking and Whipping. This article talks about how and when to use the whisking and whipping methods. You can check out this article here!
What’s the difference between whipping and beating?
Whipping vs Beating
Whipping is intended to vigorously mix wet ingredients to make them frothy, and beating is intended to thoroughly break down dry ingredients while mixing. Both whipping and beating require a wooden spoon or paddle attachment while whipping can use a thin wire whisk or whisk attachment as well.
*By the way, I recently wrote an article about The Differences Between Whipping and Beating. This article talks about how and when to use the whipping and beating mixing methods. You can check out this article here!