
This post contains affiliate links.
If you’ve been baking for a while, you know that the outcome of your product usually depends on small details that shouldn’t go overlooked. One of the most essential steps in the baking process is the proper aeration of your flour. Here’s how.
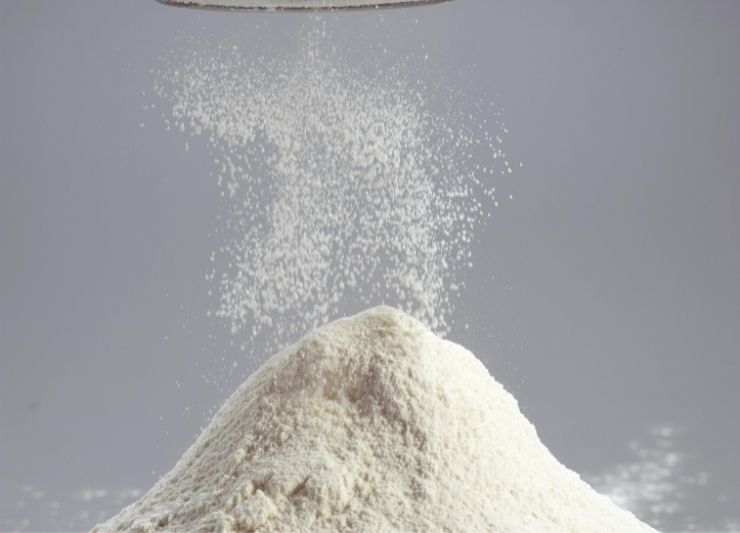
In general, you can aerate your flour by mixing the flour with a wooden spoon, then sifting it through a sifter until it looks fluffier in texture. Aerating the flour will allow you to measure the correct amount as well as create a lighter texture for your baked goods.
I noticed a huge difference in my cake textures when I started aerating my flour! Keep reading as I answered many related questions about the right way of aerating flour. You’ll find out how to successfully aerate your flour so you can create deliciously baked goods every single time.
What Does Aerate Mean In Baking?
Aerate, in baking, means to form small pockets of oxygen between small bits of food products. The aeration process can be done with solid and liquid food products and is a vital step in many baking recipes. The aeration process can be conducted through whisking, beating, and whipping the product.
Have you ever been pressed for time and tempted to skip over the aeration process? Many home cooks have been tempted to simply measure out their flour directly from the bag, leading to disastrous baking results.
Who would have thought this simple baking step would be so vital to the outcome of your recipe?
Simply put, the successful outcome of your baked good is completely dependent upon the proper aeration of your flour. Not properly aerating your flour can lead to a dry and dense finished product.
No one wants to eat a cookie that is as hard and dry as a rock now do they?
The best tool that I’ve found to sift my flour is a Battery Operated Electric Flour Sifter For Baking. This wonderful tool automates all of my sifting needs in the kitchen! It has a 4-cup capacity and is washable. What else do you need in an automatic sifter? You can check out this Electric Flour Sifter on Amazon!
When flour sits in a bag for too long in the pantry or on a grocery shelf, it will often settle, causing it to become densely packed and clumped together. This process doesn’t just happen with flour. It happens with just about any packaged good that sits for too long.
Aerating is particularly important in the baking process for two reasons:
- Inaccurate Measurements
- Poor Texture Quality
First, it can be difficult to get an accurate measurement of your flour if it’s settled. If you try to measure it out directly from the bag without aerating it, chances are you’ll end up with far too much, setting you up for a baking disaster before you’ve even started.
The second reason why you should always aerate your flour is that baked goods possess a certain texture or quality which makes them particularly delicious.
Have you ever noticed the little pockets of air inside a cookie, cupcake, or other baked goods?
*Side Note: I recently wrote an article that breaks down Can You Use Bread Flour To Bake Cookies. This article talks about what you should expect when Baking Cookies With Bread Flour. You can check out this article here!
These small pockets create that texture that we associate with desserts and other baked products. This is accomplished by properly aerating the flour at the very beginning of the baking process. By taking the time to properly aerate your flour, you’ll increase your chances of a successful baking outcome.
How To Aerate Flour For Baking?
Aerating flour should be done prior to measuring it out. In order to aerate flour for baking, take a wooden spoon and lightly stir the flour. Ensure that it is thoroughly mixed. Properly aerated flour will appear fluffier than packed flour.
Aerating your flour is a simple, yet pivotal, process. All you need is a whisk, a spoon, and a bowl. A fork can work just as well. Simply pour a good amount of flour into your bowl, aiming for a little more than what you may need for your recipe.
Next, take your apparatus of choice, and slowly begin to stir your flour in a circular motion. You can go as fast or as slow as you like, however, I find that a medium stirring speed tends to allow for more control, especially as it starts to fluff up.
You’ll notice that your flour will start to become substantially fluffier as you go about this process.
You’ll know you’ve properly aerated it once it’s become very fluffy and light. This process shouldn’t take more than a few minutes.
To put the cherry on top of this process, you can use a sifter (or a sieve) to sift the aerated flour. This will remove any lumps and imperfections that can be in your flour.
*By the way, I recently wrote an article about All The Different Mixing Methods in Baking. This article talks about the 10 different mixing ways you can use when making your baked goods. You can check out this article here!
How Do You Aerate Flour Without A Sifter?
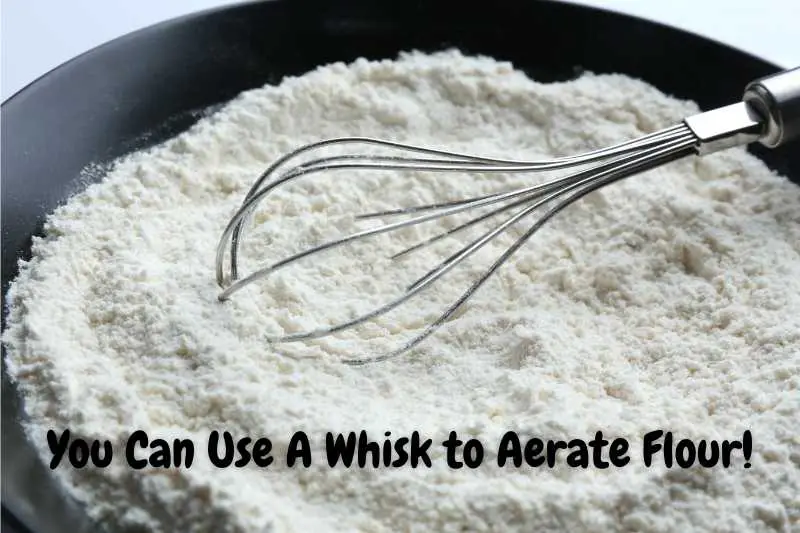
Generally speaking, you can aerate flour without a sifter by using a whisk. The wire loops in a whisk make this tool particularly effective when it comes to properly aerating flour. If a whisk is not available, a fork or a spoon can work as a simple alternative.
The great thing about aerating your flour is that you don’t necessarily need a sifter to accomplish this task. A simple whisk, large spoon, or fork can do the trick just fine. The most important part of aerating your flour is not the object you use to get the job done, it’s the actual motion itself.
*By the way, if you’re looking for a great Sifter to break down the clumps in your dry ingredients, I found the perfect Baking Sieve Cup Stainless Steel Sifter. This sifter is great because it can sift through large amounts of dry ingredients at a much faster rate than regular handheld sifters. You can check out this Sifter Sieve Cup on Amazon!
If you want to sift your flour but don’t have a sifter, you can use a sieve. This method is effective but takes a bit more time.
A whisk, spook, or fork will do the job just fine, however, I prefer working with a whisk. I think a whisk is a perfect tool for the aeration process, due to the wire loops.
What Would Happen If You Don’t Aerate Your Flour?
As a whole, flour has a tendency to settle in its bag, especially if it’s been stored for a while. If the flour is not properly aerated prior to the baking process, there is a good chance that measurements will be inaccurate and the finished product will be too dense or dry.
You’re setting yourself up for baking failure if you don’t take a few minutes to aerate your flour first. Not aerating your flour will lead to a dry and dense baked good.
You can conduct a little experiment in order to see just how important aerating your flour is.
Take a measuring cup and measure out a cup of flour that hasn’t been aerated. Then take a measuring cup of the same size and measure out a cup of aerated flour.
Place each cup on a scale and weigh them. You will notice a distinct difference in the weight of the aerated and unaerated flour.
*By the way, you might also want to know How To Mix Batter Without a Mixer. I recently wrote an article talking about The Right Ways of Mixing Batter By Hand, which you can check out here!
Does Sifting Aerate Flour?
As a general rule, sifting flour can be an effective way of aerating flour, however, it is not considered to be the same process. Sifting flour involves pouring the flour through a sieve which is placed above a bowl. It is an effective way of removing large clumps or other particles from the flour.
Sifting your flour is a great way to remove large clumps and other unwanted particles from your flour.
While sifting your flour can be an effective way to aerate your flour, this process serves a completely different purpose than aeration. Still, it can be just as effective as whisking your flour if you’d prefer to use the sifting method instead.
*By the way, I recently wrote an article about How to Effectively Clean a Flour Sifter to Avoid Residue. This article makes sure that you know how to never have a clogged flour sifter ever again! You can check out this article here!
What Are The Steps To Accurately Measure Flour?
As a whole, measuring flour requires a series of steps in order to ensure accuracy. Flour must be fluffed and then spooned into a measuring cup. Once this is done, gently scrape the top off with a spoon in order to ensure it is level. Never scoop flour into a measuring cup directly from the bag.
Accurate measurements are the cornerstone of any successful baking session. There are three simple steps to follow when it comes to accurately measuring your flour.
- Aerating the flour
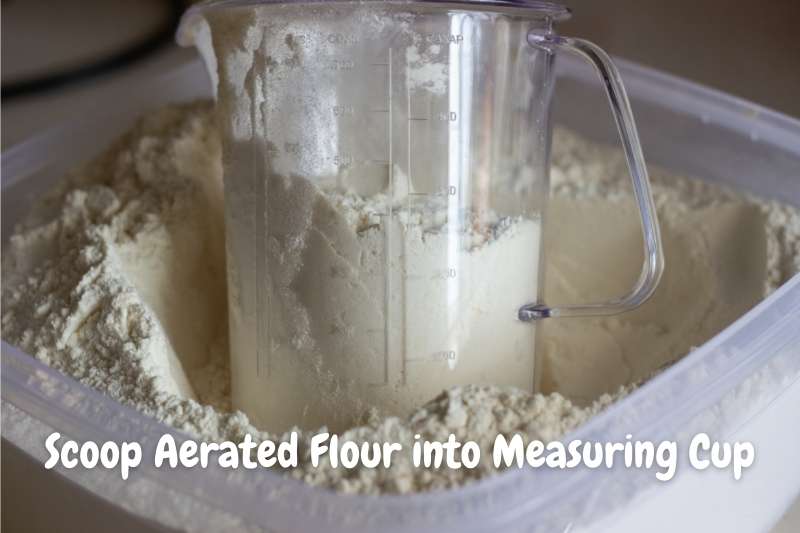
- Scoop into a measuring cup
- Scrape off the top
First, make sure you properly fluff and aerate your flour. This is vital in order to ensure proper measurement.
Second, take a spoon and gently add your aerated flour into your measuring cup. Do not use your measuring cup to directly scoop your flour inside.
This causes the flour to get packed into the cup and will throw off your measurements.
Be sure you aren’t packing your flour with your spoon either. Allow your flour to stay fluffed as you spoon it in.
After your flour has reached over the top of your measuring cup, take a butter knife and gently scrape the top of it off. Once again, make sure you aren’t packing it down in the process. This will help to ensure you have a perfectly measured cup of aerated flour.
*By the way, you might also want to know If Baking Powder Can Replace Cornstarch. I recently wrote an article about Cornstarch Substitutes That Work. You can find this article here!
Do You Measure Flour Before Or After Sifting?
As a general rule, flour must always be properly sifted prior to measuring it. Flour that is not sifted beforehand could lead to inaccurate measuring, as well as a noticeable change in the texture and taste of the finished product.
You should always measure your flour out after you’re done sifting it. There is a huge difference in the amount and weight of aerated flour and packed flour. If you measure your flour prior to sifting it you’re likely to end up with far too much flour as well as a baking disaster.
*By the way, you might also want to know If Cornstarch Can Replace Baking Powder. I recently wrote an article about Baking Powder Substitutes That Work, you can check it out here!
How Do You Aerate Flour Before Measuring?
Before measuring it out, flour can be aerated using a spoon or a whisk. Using a mixing motion, gently stir the flour with the whisk or spoon. Make sure that any large clumps are gently broken up and that the flour is completely and thoroughly mixed before measuring it out.
You can aerate your flour by gently using a whisk, fork, or even a spoon to stir it up. You’ll be able to tell if you’re doing it correctly if your flour begins to get fluffy and lighter in the process.
By taking the time to properly aerate your flour before you measure it, you’ll ensure that your baked goods turn out light, beautifully textured, and delicious!
To Summarize…
Flour is the building block of almost all desserts. I have tried to skip the aeration step in the past out of pure laziness but had it backfire on me.
Making sure to properly aerate your flour will ensure accurate measurements as well as beautiful, light, and fluffy textures!