
This post contains affiliate links.
Getting brownies out of a pan can be very hard to accomplish when stuck. I’ve baked so many brownies in many different pans like glass, non-stick, and even metal, and getting the brownies out was getting harder to do correctly with each time. So I asked myself: How do I get brownies out of a pan without breaking?
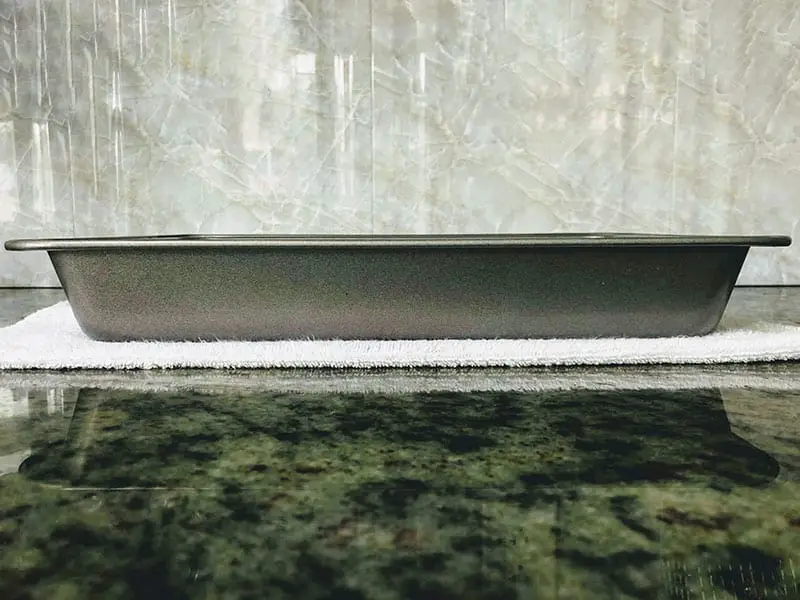
- Put a cold wet towel underneath your brownie pan once it’s out of the oven.
- Let it cool for 20 minutes.
- Use a rubber spatula to separate the edges of the pan from the brownie.
- Flip the brownie upside down onto a plate.
- *Grease and line your pan before starting to bake your brownies.
While baking your brownies, you can have many different scenarios that you can come across leading to a tough time removing your brownies from your pan. You could have accidentally skipped the greasing step and have an ungreased pan or you could have just overbaked your brownies and they got stuck. Either way, I have the easiest solutions for you!
Cool Down Your Brownie Pan The Right Way (Greased or Ungreased)
The first tip I have, and I’ve repeated this a lot of times in my past articles because I want it engraved in your head, is to let your brownies cool down. It is critical that you do this or you’ll end up crumbling your brownies.
The secret that my grandma thought me in this situation is to put a cold wet towel underneath the pan once it is out of the oven. This helps the big brownie square unstick from your pan while cooling down.
This especially helps unstick your brownies from an ungreased pan which saves your brownies from the common mistake of forgetting to grease your pan.
You have to let your brownies cool for a minimum of 20 minutes while on the towel. I cool mine down for about 30 when I have the time.
*By the way, I recently came across the perfect Brownie Pan that slices the brownies into pieces without the hustle! This Metallic Professional Slice Solutions Brownie Pan is 9 inches by 13 inches and will help get your brownies out of the pan much easier! You can check out this Brownie Pan on Amazon!
The reason is that when they’re cooling down, you’ll notice they start to deflate slightly which means they’re pulling away from the sides of the pan, decreasing the risk of sticking.

Use A Rubber Spatula To Help Remove Your Brownies
Now, this has happened to me COUNTLESS times. I make a stunning brownie mix, take the time to properly grease my pan and then I break my heart by overbaking or breaking my brownies.
I just want to clarify, it’s not the biggest deal if you have slightly overbaked brownies. They’re definitely still delicious, however, they’ll be on the crunchier side. But if that’s how you like your brownies then, by all means, crunch away!
The problem with leaving brownies in for too long is that they might be a bit more difficult in removing compared to softer brownies that are glad to spring out of the pan.
Next, you’ll need your wand that magically pulls them out in a clean manner. By magic wand, I mean a rubber spatula. Rubber spatulas are so versatile in the kitchen that we’ll be using them to remove overbaked brownies from a pan!

*Run the spatula over each side of the pan, wiggling lower to loosen the bottom as you go along. Be gentle when you’re doing this, rushing will just cause them to break from the unwanted contact*
Once you’ve run the spatula across the perimeter of your pan, place your hand or a large plate on top (upside down like a lid) and flip your whole pan upside down. It should transfer your brownies to your hand (which you can slide onto a plate) or directly onto the plate you used.
If it’s struggling to come out, DON’T wiggle it! Flip your pan back and use your rubber spatula to loosen up the parts that are still stuck.
*Side Note: I recently wrote an article about How To Freeze Brownie Batter The Right Way. This article talks about How Long Brownie Batter Lasts. You can check out this article here!
Types of Pans To Bake Your Brownies In
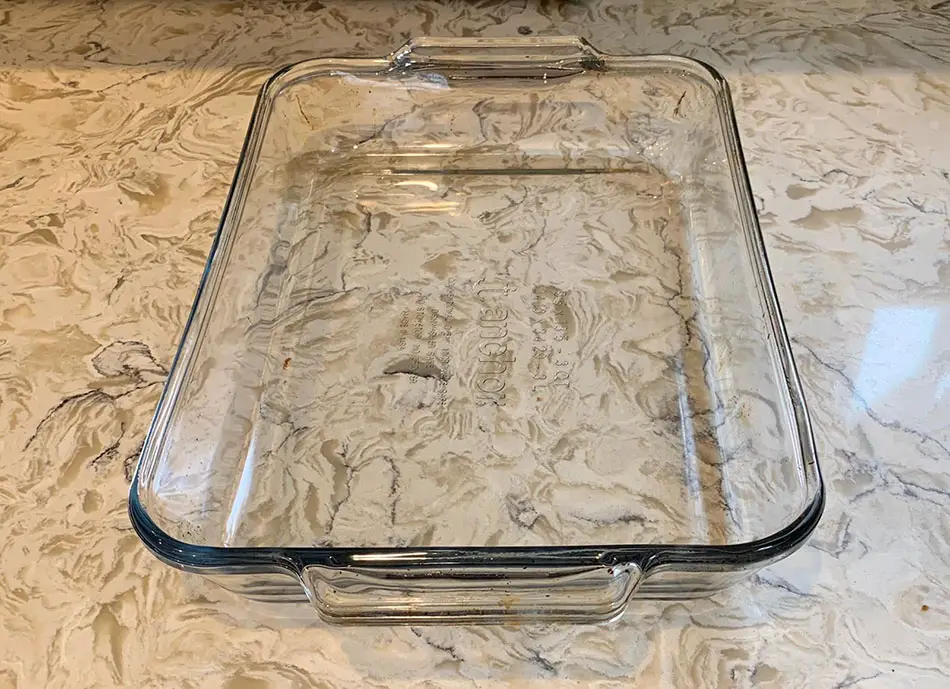
Glass Pans: These pans shouldn’t be your first choice to bake brownies in because of uneven baking. This means that there will be an uneven distribution of moist and dry parts across your brownie mix. If using this pan, grease it very well with butter and use flour or cocoa powder to help prevent them from sticking.
If you’re in the market for a new Glass Pan, I recently came across a great Rectangular Glass Baking Pan that will fit in perfectly with your kitchen! You can check it out on Amazon.
You can learn how to grease your glass pan for cakes and brownies the right way in an article I wrote not too long ago that explains this in detail. You can find the Article here!
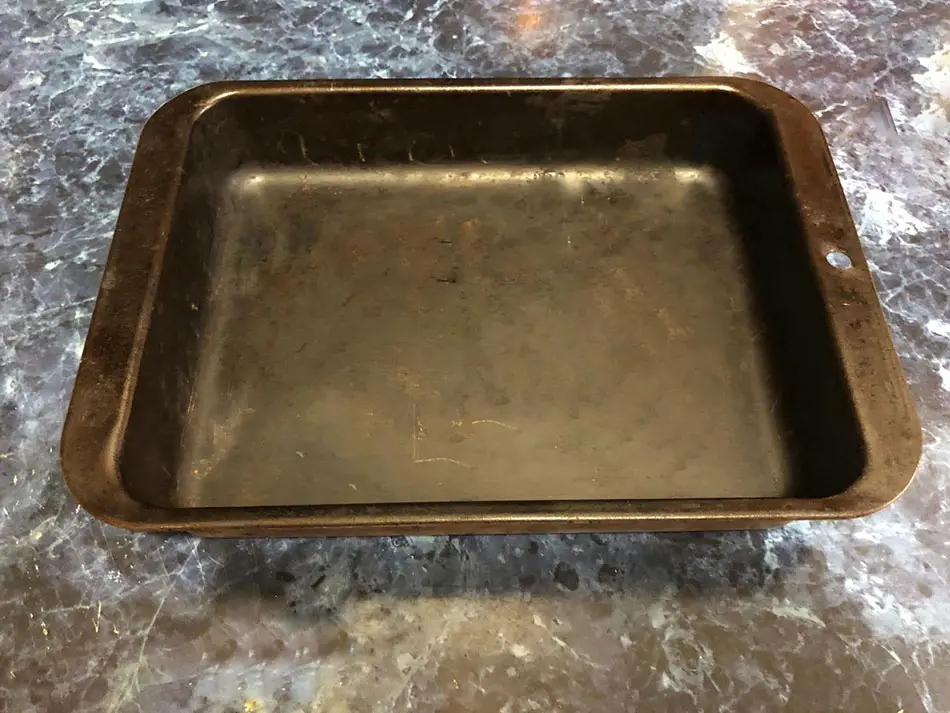
Metal Pans: These pans are great to bake brownies in because it provides an equal distribution of heat since it is metal (great conductor of heat). I’ve found my brownies to have that crunchier exterior and gooey interior when I bake in a metal pan. However, I like to use the foil method (see below) or parchment paper to prevent my brownies from sticking.
Non-Stick Pans: These pans are what I usually use to bake brownies in because all I have to do is grease them with butter and they never stick. My brownies are usually moist in these pans without much crunch on the edges (which is how I prefer them).
*Side Note: You might also want to know How To Bake A Cake In A Water Bath. I recently wrote an article about The Do’s and Dont’s of Baking A Cake In A Water Bath. You can find this article here!
Prepping: Grease And Line Your Pan Before You Bake Your Brownies
The main reason for brownies or any other sweet treats getting stuck to a pan is not greasing it properly. Brownies are one of those delicious desserts that appeal to all age groups! It’s actually the most requested treat in my family. I make sure that I properly grease my pan because I don’t want to disappoint anyone with a crumbly mess!
The holy grail of baking ware is probably parchment paper. The waxy surface has never given me any trouble when it comes to stuck-on desserts. But when it comes to brownies, there’s actually a special trick I always use. Here’s what I do:
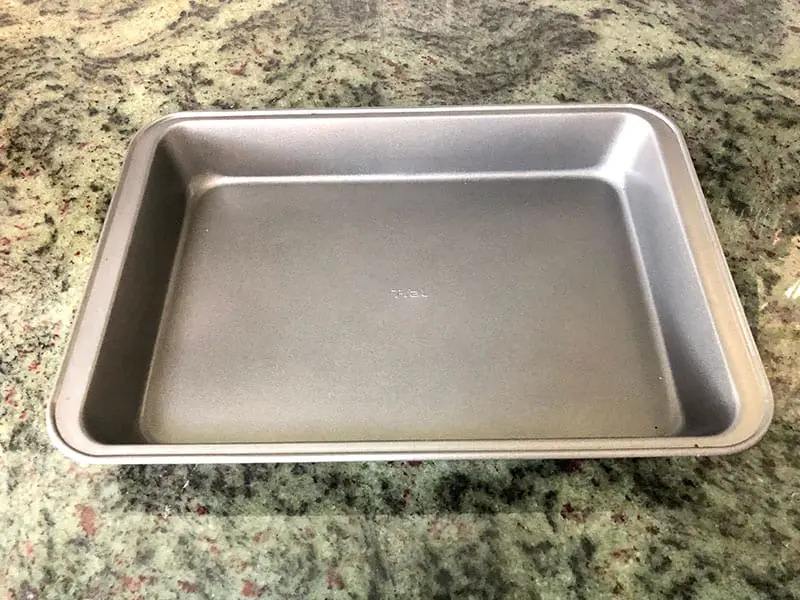
- First things first, get yourself a proper-sized pan (keep scrolling down if you want to know more about baking brownies in different types of pans). Bigger pans mean that your batter will spread out and produce thin, hard brownies. We definitely don’t want that. Use about a 9-inch square pan.
- Spray the bottom and sides of your pan with an oil spray. Why? Because we don’t want our parchment paper moving around or shifting when we’re going to be baking our brownies.
- Tear 2 pieces of parchment paper roughly 3 inches longer than your pan. One piece will be lined lengthwise while the other will be lined widthwise (trim as needed).
- Line your baking pan. Line them one at a time in a perpendicular fashion (see step 3).
- Press down gently onto the bottom and sides to make sure that the parchment paper properly sticks to the surfaces of your pan.
- Pour your brownie batter into the lined pan and bake according to your recipe.
I have never had any trouble with this method. I let the brownies cool in the pan once they’re finished. After about 20-30 minutes, I pull the sides of the parchment paper and it comes out perfectly! Place it on your counter and just peel back the paper to reveal a crack-free slab of brownie.
Here’s a short video I found that quickly demonstrates what I talked about:
If you don’t have parchment paper handy, it’s completely fine. There are many recipes for other desserts that grease a pan with some form of fat, such as butter, and then dust a few spoons of flour over the surface of the pan.
This would be great for this scenario but your wonderful brownies will take on the white color of the flour! Use cocoa powder instead! To do this:
- Use room-temperature butter! This is important as it will spread better
- Take 1 tablespoon of butter and rub it on the bottom and sides of your pan
- Take 2 tablespoons of cocoa powder and tilt your pan in all directions to get the cocoa powder in every nook and corner
- Pour in your brownie batter and bake according to the recipe you are using
*By the way, my oven recently wrote so I decided to write an article about Baking Brownies Without An Oven. This article breaks down all the things that you can use to bake brownies without using a traditional oven. You can check out this article here!
Use A Makeshift Tool To Get To Prep For Your Brownie Removal:
When I’m in a rush and don’t have the luxury of taking extra time in prepping my pans, I turn to another of my favorite items: aluminum foil.
Growing up, I’d make little crafts with aluminum foil such as fake forks and knives. I know I’m not the only one! We can use our childhood skills to make a makeshift tool to remove brownies from a pan but with actually no work required!
- Take a sheet of aluminum foil that is slightly longer than the length of your pan, about 6 inches more.
- Line your pan as you normally would but leave the excess foil hanging over all four sides instead of tucking them in. This literally creates handles for your brownies!
- Continue by pouring in your brownie mix and baking it according to your recipe.
- When it’s done, let your brownies cool for at least 20 minutes with the wet towel method provided above. When the time is up, simply use your nifty DIY brownie handles and pull on them gently.
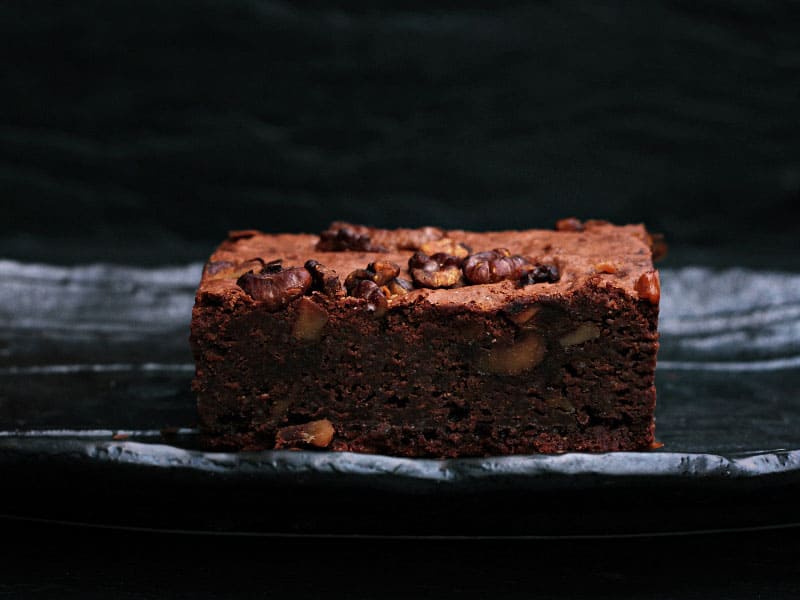
Out slide up your brownies! Transport them onto a clean counter or cutting board and gently peel back the aluminum foil to reveal gorgeous chocolate heaven in brownie form.
Properly Cutting Your Brownies
There’s such relief when you successfully remove your brownies from a pan without losing a crumb. However, you’re not out of the woods yet, there’s still cutting to do without breaking your brownies.
Many people have said that plastic knives are the best for cutting brownies. Personally, I’m a big advocate for the environment and I try my best to limit my use of plastic so I would avoid this if you don’t want to use plastic either or simply don’t own one.
I’ve experimented with a number of knives and the best one I found to work is a serrated bread knife. The length of the knife helps as well as the saw-like movement that I achieve with the serrated part.
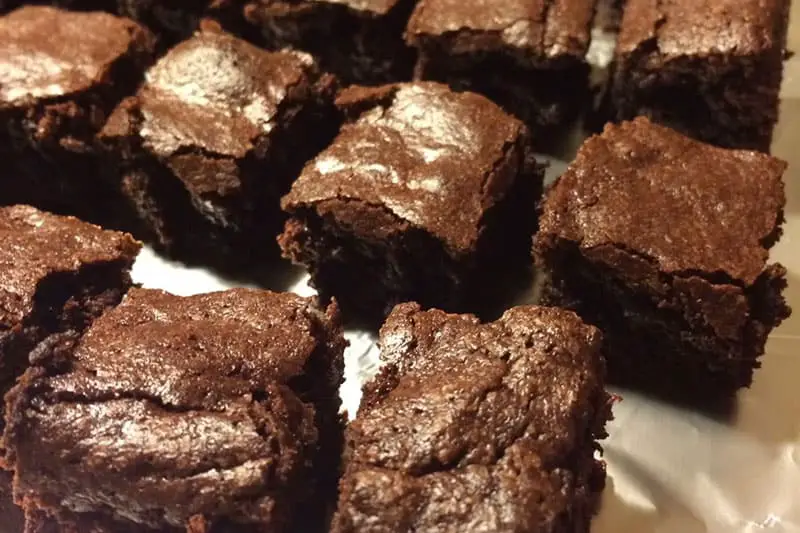
A big tip I have is to coat both sides of your serrated knife with cooking spray. I have found that it doesn’t drag back any crumbs and makes a clean cut. DO NOT press down when cutting! Instead, apply a little pressure and move back and forth in a saw-like manner.
*By the way, I recently wrote an article talking about Why Your Brownies Have A Cakey Texture. This article breaks down the main reasons why your brownies become cakey after they’re baked as well as how to fix and prevent it from happening again. You can check out this article here!
To Summarize…
Baking brownies is one of my favorite things to make in the kitchen. Perfectly removing them from the pan, however, has presented to be an obstacle. Once I learned these few simple tricks to remove the brownies from their pans, I started enjoying baking brownies much more. Hopefully, these few tips and tricks help remove (pun intended) the hassle of your brownie-baking journey!