
This post contains affiliate links.
Can You Bake A Cake Without An Oven?
Generally speaking, an oven is not always necessary to have when it comes to baking cakes. There are several other alternative methods to use that are just as easy and effective to use in order to bake a cake. Make sure to adjust your cake recipe accordingly depending on each alternative method.
There are so many methods you can use when it comes to baking a cake! While the most well-known method is by using an oven, you can also use the microwave, a dutch oven, your toaster oven, or even your stovetop!

Each of these methods is somewhat different, but the process is essentially the same as you’re using heat to complete the baking process.
There are steps you should follow, however, as each method also has its own pros and cons.
Let’s break down all the ways there are to create a cake using methods other than your standard oven. You’ll learn how to bake a delicious cake in a pinch no matter the circumstance or what you have on hand.
4 Best Ways To Bake A Cake Without An Oven:
If an oven is not available, there are four effective ways anyone can use to bake a cake. A cake can be baked in the microwave, on a stovetop, in a toaster oven, or in a dutch oven. A cake recipe will have to get adjusted accordingly since each method creates a unique way of making a cake.
While most people typically use the oven, there are many innovative and efficient ways to bake a cake.
Whether you enjoy outdoor cooking in a dutch oven or you’re in a dorm room with nothing but a microwave and a mug, you can enjoy a delicious cake no matter the time or place.
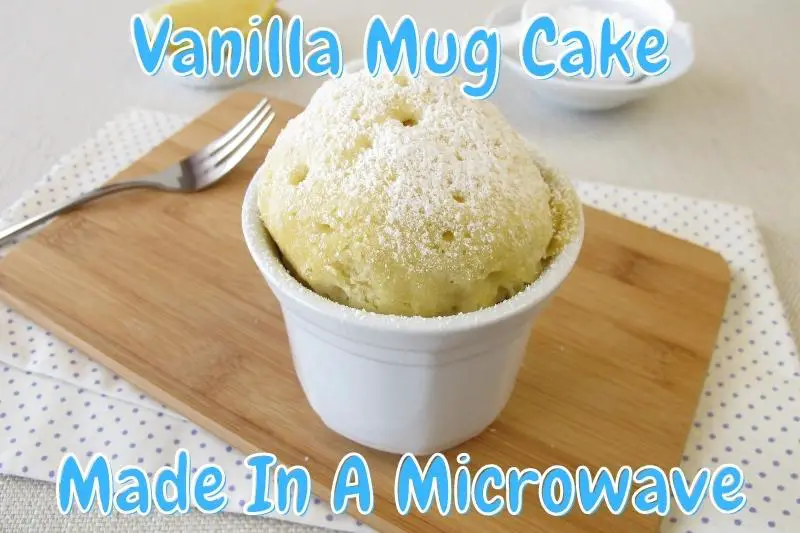
In The Microwave
Generally speaking, you can make a mug cake in the microwave. Mug cakes are smaller versions of cake that have been mixed and prepared in a mug and then put in the microwave to cook. It’s a fun and versatile way to create individualized cakes for guests to enjoy during the holidays.
One of my favorite alternate ways of making a cake is by making it in the microwave.
Sometimes I’m craving a piece of cake but don’t feel like going through the process of baking a larger one, so a mug cake is perfect for enjoying solo!
Making a mug cake is easy and fun to create with kids. It’s also quick and the clean-up process is a breeze!
To start, make sure you have a microwave-safe mug. It should say somewhere on the bottom of your bug whether it is microwave safe.
Next, gather up your ingredients. For a classic chocolate mug cake, you’ll need:
- A quarter cup of flour
- A quarter cup of sugar
- Two tablespoons of cocoa powder
- A quarter tablespoon of water
- One-quarter teaspoon of vanilla extract
- A quarter teaspoon of baking soda
- Three tablespoons of milk
- A dash of salt
- Two tablespoons of canola oil
Combine your ingredients until they are thoroughly mixed. Make sure your mug isn’t too shallow, as you don’t want it to spill out as it expands!
Next, pop your mug in the microwave for two minutes, and then enjoy! If you don’t have a mug you can also use a microwave-safe bowl!
*Side Note: If you want to learn How To Bake A Cake Without Vanilla Extract, I recently wrote an article talking about the Substitutes that you can use for Vanilla Extract, which you can check out here!
On A Stove Top
Generally speaking, you can make a cake on a stovetop instead of in the oven. You can use a large pot, a glass dish, and a steamer basket to easily bake a cake on the stovetop. Using a steamer basket will produce a moist, airy cake. This method is suitable for both homemade and boxed cake mixes.
Here’s a quick video I found showing how to bake a cake on the stove:
Many people are surprised to learn that you can bake a delicious cake using an ordinary stovetop. I’ve used this method several times, especially when I don’t feel like using the oven.
All you need to have is a large pot, a glass dish, some parchment paper, and a steamer basket.
If you don’t have a steamer basket, a smaller glass dish will also work as long as it can sit nestled within the larger pot and a lid can still fit securely over it.
I simply prefer to use a steamer basket because it creates a moist cake with a decadent mouthfeel.
Properly coat your baking pans with butter. Don’t forget about greasing the sides as well! Take your parchment paper and trace a circle the size of the pan you’re using and cut it out.
This parchment paper will cover and protect the top of your cake as it expands.
*Side Note: You might also want to know How To Bake A Cake In A Water Bath. I recently wrote an article about The Do’s and Dont’s of Baking A Cake In A Water Bath. You can find this article here!
Take your combined ingredients and pour them into your well-greased and lined steamer basket. In the larger pot, pour an inch of water inside, and set the burner to medium heat.
To protect the batter in the steamer basket, it’s a good idea to line the glass dish with beans, as this will keep the cake from burning.
Make sure the steamer basket has legs so that it is not nestled flat on the inside of the glass dish. After your pots and steamer basket are nestled inside, take a larger piece of parchment paper and place it on top before covering securely with your lid.
This paper will keep the steam from sweating into the steamer basket and ruining your cake.
Set a timer and allow your cake to cook for twenty-five minutes. This method is an easy way to create a delicious dessert if you don’t have an oven handy.
In A Toaster Oven
Generally speaking, you can bake a cake in a toaster oven instead of an oven. You can use the same basic techniques as a traditional oven-baked cake. It’s important to ensure the toaster oven’s temperature is well-calibrated, as they’re notoriously inaccurate when it comes to cooking temperatures.
Using a toaster oven to bake a cake is a similar process to baking one in the oven.
The main difference is the size of the cake. While cakes that are baked in a traditional-sized oven are much larger, you’ll create smaller, mini cakes which are great for small dinner parties.
I use the Oster French Convection Countertop and Toaster Oven. While this is the best toaster that I’ve ever come across, you do need to have some countertop space to place it on.
This toaster oven has a Single Door Pull and Digital Controls which works great for almost anything you’re trying to bake in it. Including a whole turkey! You can check out this toaster on Amazon!
*Remember to never use parchment paper in a toaster oven, as the heating element lies close to the tray and can cause a fire hazard.*
Also, many toaster ovens have hot spots, which can cause an unevenly cooked cake. You may need to rotate your cake halfway through the process to make sure it cooks evenly.
The best pans to use with a toaster oven will be your eight-inch round pans. They typically fit into most toaster ovens. You may even come across cake pans that have been specially made for the toaster oven.
I recently came across this 2-Piece, Aluminum 8-Inch Round Cake Pan Set that will work perfectly for this task. These pans make it easy for the heat to evenly spread so that the cake bakes the same on all sides. You can check out these pans on Amazon!
In A Dutch Oven
In general, you can use a dutch oven to bake a cake instead of an oven. You need to use charcoal, cake ingredients, and a liner pan. Prepare the ingredients, pour them into the liner pan, and place them in the dutch oven for about 25 to 30 minutes. Preheating is not necessary with this method.
This is a great way to impress your friends the next time you’re out on a camping trip with them!
Creating a delicious cake in your Dutch oven is incredibly easy and adds a bit of fun and excitement to your outdoor camping experience.
If you’re enjoying the great outdoors, you probably brought along a cake mix to save you a bit of time and prep work.
The great thing about using a Dutch oven is that pre-heating is not necessary for this process, which also saves you a bit of time. Gather your cake mix, about thirty charcoal briquets, your starter, and your cake liner.
Below, I found a quick video breaking down these instructions:
For this purpose, I use the Enameled Cast Iron Covered Dutch Oven that I found on Amazon. This dutch oven will cook pastry dough very well and could be used for anything from frying chicken to making soup. You could check out this Dutch Oven on Amazon!
Combine your cake mix and any additional ingredients until they are well mixed and pour into the liner that you’ve placed inside your Dutch oven. Set your Dutch oven on top of about eight to ten charcoal briquets and then start your fire.
Be sure you place about fifteen charcoal briquets on top of the lid too.
Follow the time recommendation on the cake mix box, and if it needs additional cook time you can take the Dutch oven off the coals and allow it to sit and cook for a few minutes longer.
Dutch ovens are great conductors of heat, so they will continue to cook for a while even after it’s removed from the fire.
Can You Bake A Cake Without A Cake Pan?
As a general rule, you can bake a cake without a cake pan. If a cake pan is not available then a baking pan or oven-safe glass pan can be used as an alternative. Make sure to line or grease each type of baking pan so that your cake doesn’t stick to it once baked.
There are many items you can use in place of a cake pan! You can mold aluminum foil into a flat sheet pan to create a cake shape. You can also use a cast iron pan as they are oven safe and durable.
Another popular option is to use a silicone baking mat. These mats are durable, heat-resistant, and non-stick, which makes them perfect for whipping up a cake in no time!
*By the way, you might also want to know How To Bake A Cake Without A Cake Pan. I recently wrote an article that talks about How To Bake A Cake If You Don’t Have A Cake Pan. You can find this article here!